
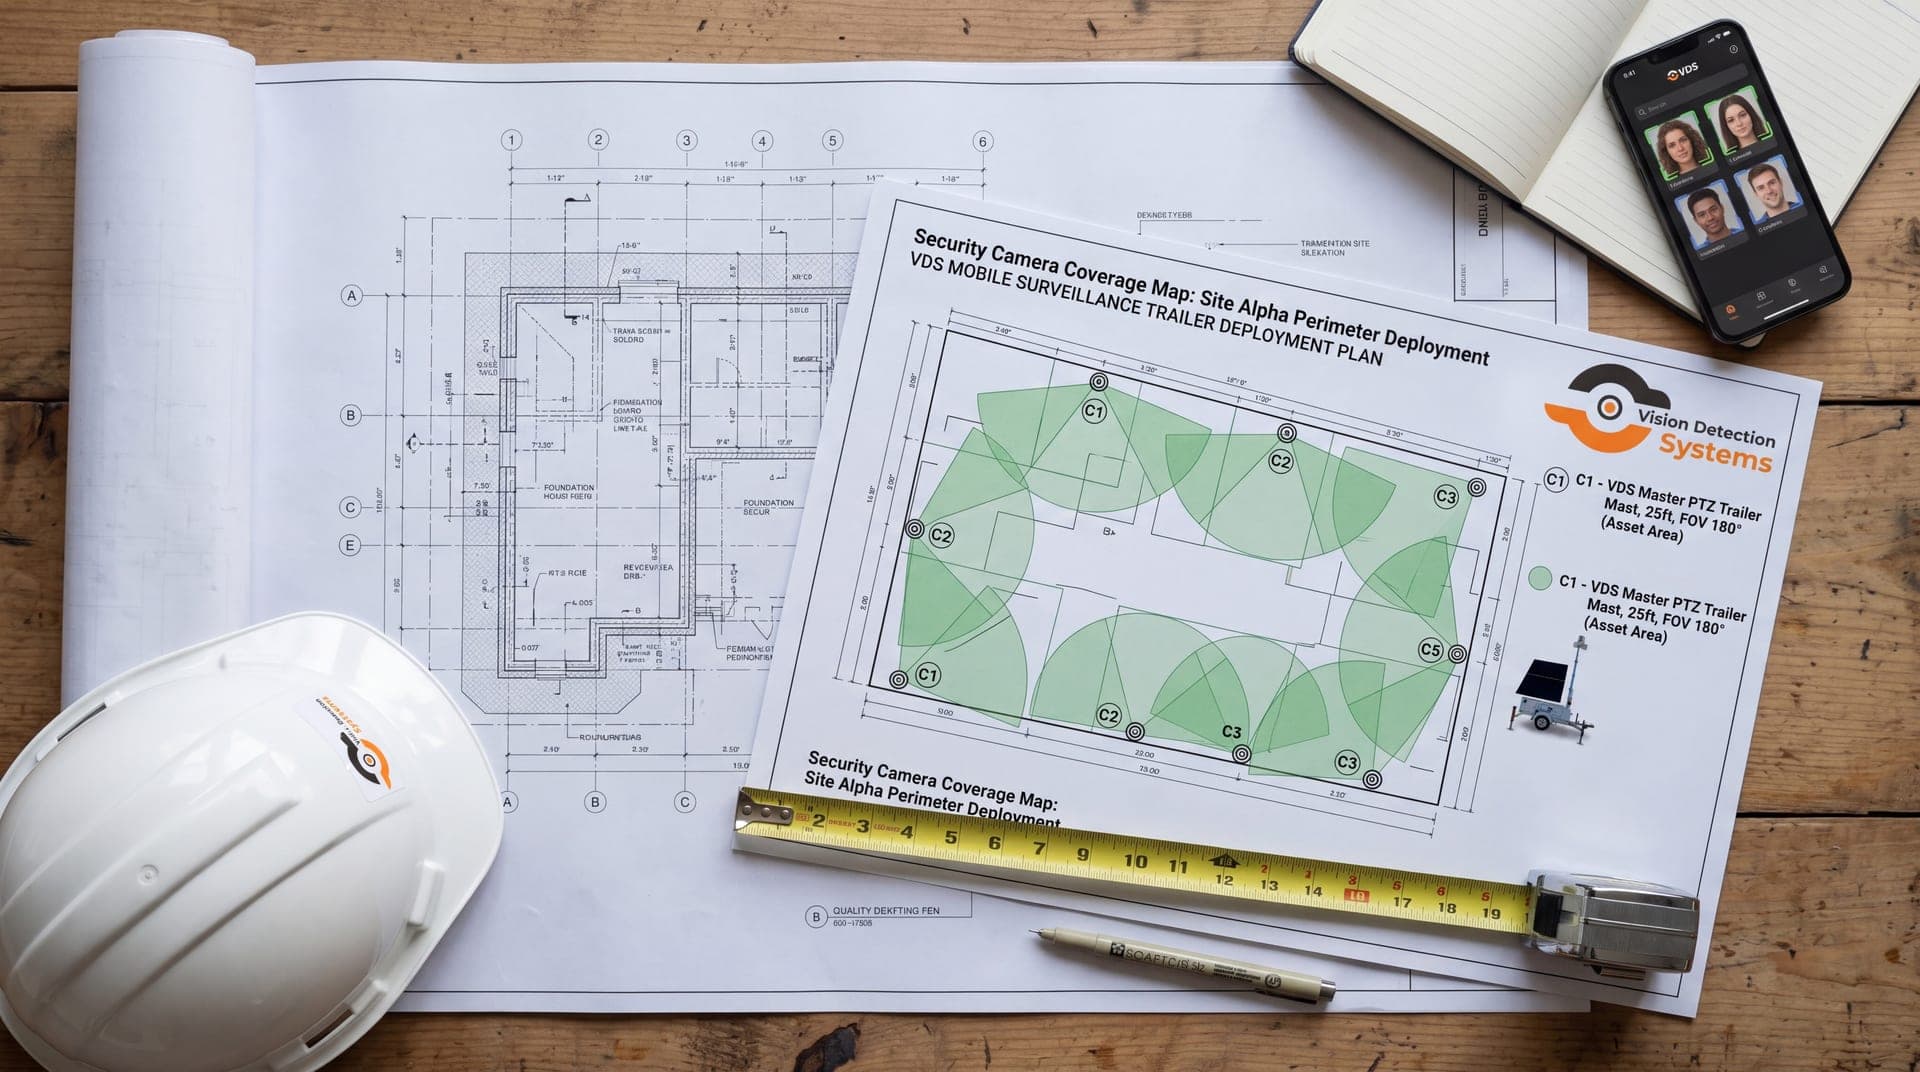
Step 1: Define the site and what is at stake
Start by writing down what the site is and what matters on it. Be specific about the boundary, because you cannot assess what you have not drawn.
- Site address, size and shape, and who owns or controls it
- Hours of operation, and who is present when
- Assets worth protecting, such as equipment, materials, vehicles, fuel, inventory, data and people
- Which assets are easiest to move, sell or damage
- Any insurance conditions or contractual security requirements
This step feels basic, but it prevents the common mistake of protecting the wrong thing well. Many sites are targeted for a small number of high-value, easy-to-carry items.
Step 2: Walk the site and its surroundings
Walk the perimeter and the interior in daylight, then again at night if possible. Look at the site the way an intruder would.
Note the following.
- Entry points, including gates, gaps, damaged fencing and unlocked doors
- Lighting coverage and dark zones
- Sight lines from the road and from neighbors
- Places a vehicle can park unseen, and routes it can take in and out
- Existing cameras, alarms, locks and signage, and whether they work
- Hiding places, such as stacked materials, vegetation or structures
Check the neighborhood too. Nearby vacant lots, busy roads, past incidents and the response time of local help all affect risk. For a worked example of a physical checklist, see the construction site security checklist.
Step 3: List the threats
For each asset, write down what could realistically happen. Keep the list tied to your site, not a generic one.
- Theft of tools, materials, fuel or equipment
- Vandalism and graffiti
- Trespassing and after-hours loitering
- Vehicle break-ins or stolen vehicles
- Fire, smoke or storm damage
- Employee or contractor misuse
- Safety incidents, such as unauthorized people near hazards
Include threats that are unlikely but severe. They may rank low on likelihood and still deserve a plan.
Step 4: Score likelihood and impact
Use a simple five-point scale for each factor. The numbers are a ranking tool, not a measurement, so agree on what each level means before you start and apply the same meaning to every risk.
| Score | Likelihood | Impact |
|---|---|---|
| 1 | Very unlikely, no history at this site | Minor, easily fixed |
| 2 | Unlikely, but possible | Noticeable loss or short disruption |
| 3 | Possible, has happened nearby | Significant cost or downtime |
| 4 | Likely, has happened here | Serious loss, safety concern or major downtime |
| 5 | Expected, happens repeatedly | Severe, hard to recover from |
Likelihood draws on history, exposure and attractiveness. A site that has already been hit, has visible valuables and is hard to see from the road scores higher. Impact draws on replacement cost, delay, safety, insurance and reputation.
Step 5: Calculate the risk score and rank
Multiply likelihood by impact for each risk. Sort the list from highest to lowest. Here is an example layout, with scores that show how the method works rather than describing any real site.
| Risk | Asset | Likelihood (1-5) | Impact (1-5) | Score | Priority |
|---|---|---|---|---|---|
| After-hours equipment theft | Tools and machinery | 4 | 4 | 16 | High |
| Fuel theft | Fuel storage | 3 | 3 | 9 | Medium |
| Vandalism of fencing | Perimeter | 3 | 2 | 6 | Medium |
| Fire in storage area | Materials | 1 | 5 | 5 | Medium, plan anyway |
| Trespass by passersby | Whole site | 4 | 1 | 4 | Low |
Set priority bands in advance. A common approach is to treat the top third of scores as high, the middle third as medium and the rest as low. Treat any risk with a very high impact as worth a plan regardless of its score, because a rare but severe event is easy to under-rank.
Step 6: Match risks to controls
For each high and medium risk, list the controls that reduce likelihood, impact or both. Controls fall into a few groups.
- Deter. Lighting, signage, visible cameras, fencing and live audio.
- Detect. Cameras with analytics, alarms and sensors.
- Delay. Locks, barriers, secured storage and gates.
- Respond. Verification, talk-down, guard patrols, police dispatch and a written escalation plan.
Detection without response is only a record. Decide who sees the alert, who verifies it and what happens next. Cameras that are watched are different from cameras that only record, which is the central point behind remote video monitoring. To size the camera side, see how many security cameras a business needs, and for mobile coverage, see surveillance trailer site selection.
Step 7: Assign owners and dates
A list of controls does nothing until someone owns each item. For every control, record the following.
- The person responsible
- A target date
- A rough budget category, using security camera budget planning to frame tradeoffs
- How you will know it is working
Keep the action list short. Five completed actions beat twenty planned ones.
Step 8: Recheck and repeat
Risk is not static. After controls go in, rescore the risks. Some will drop, some will stay high and new ones will appear. Repeat the assessment when:
- The site layout, assets or hours change
- An incident or near miss occurs
- Nearby conditions shift, such as new construction or a change in local crime
- A set review date arrives
A trial deployment can also test your assumptions with real data. The security pilot program guide explains how to run one.
How VDS fits
If your assessment ranks after-hours theft, trespass or vandalism high, and the site has no power or internet, a VDS mobile surveillance unit is one control to consider. It is a solar-powered trailer with a 5MP PTZ camera with 25x optical zoom and three 8MP wide-angle cameras on a 22 ft telescopic mast, with dual-SIM 4G/5G cellular, so no site power, internet or trenching is needed. AI detection flags people, vehicles, loitering, objects and license plates, and a 24/7 US-based security operations center verifies events, responds with live talk-down, then dispatches police with video. Talk to our team and bring your ranked list.