
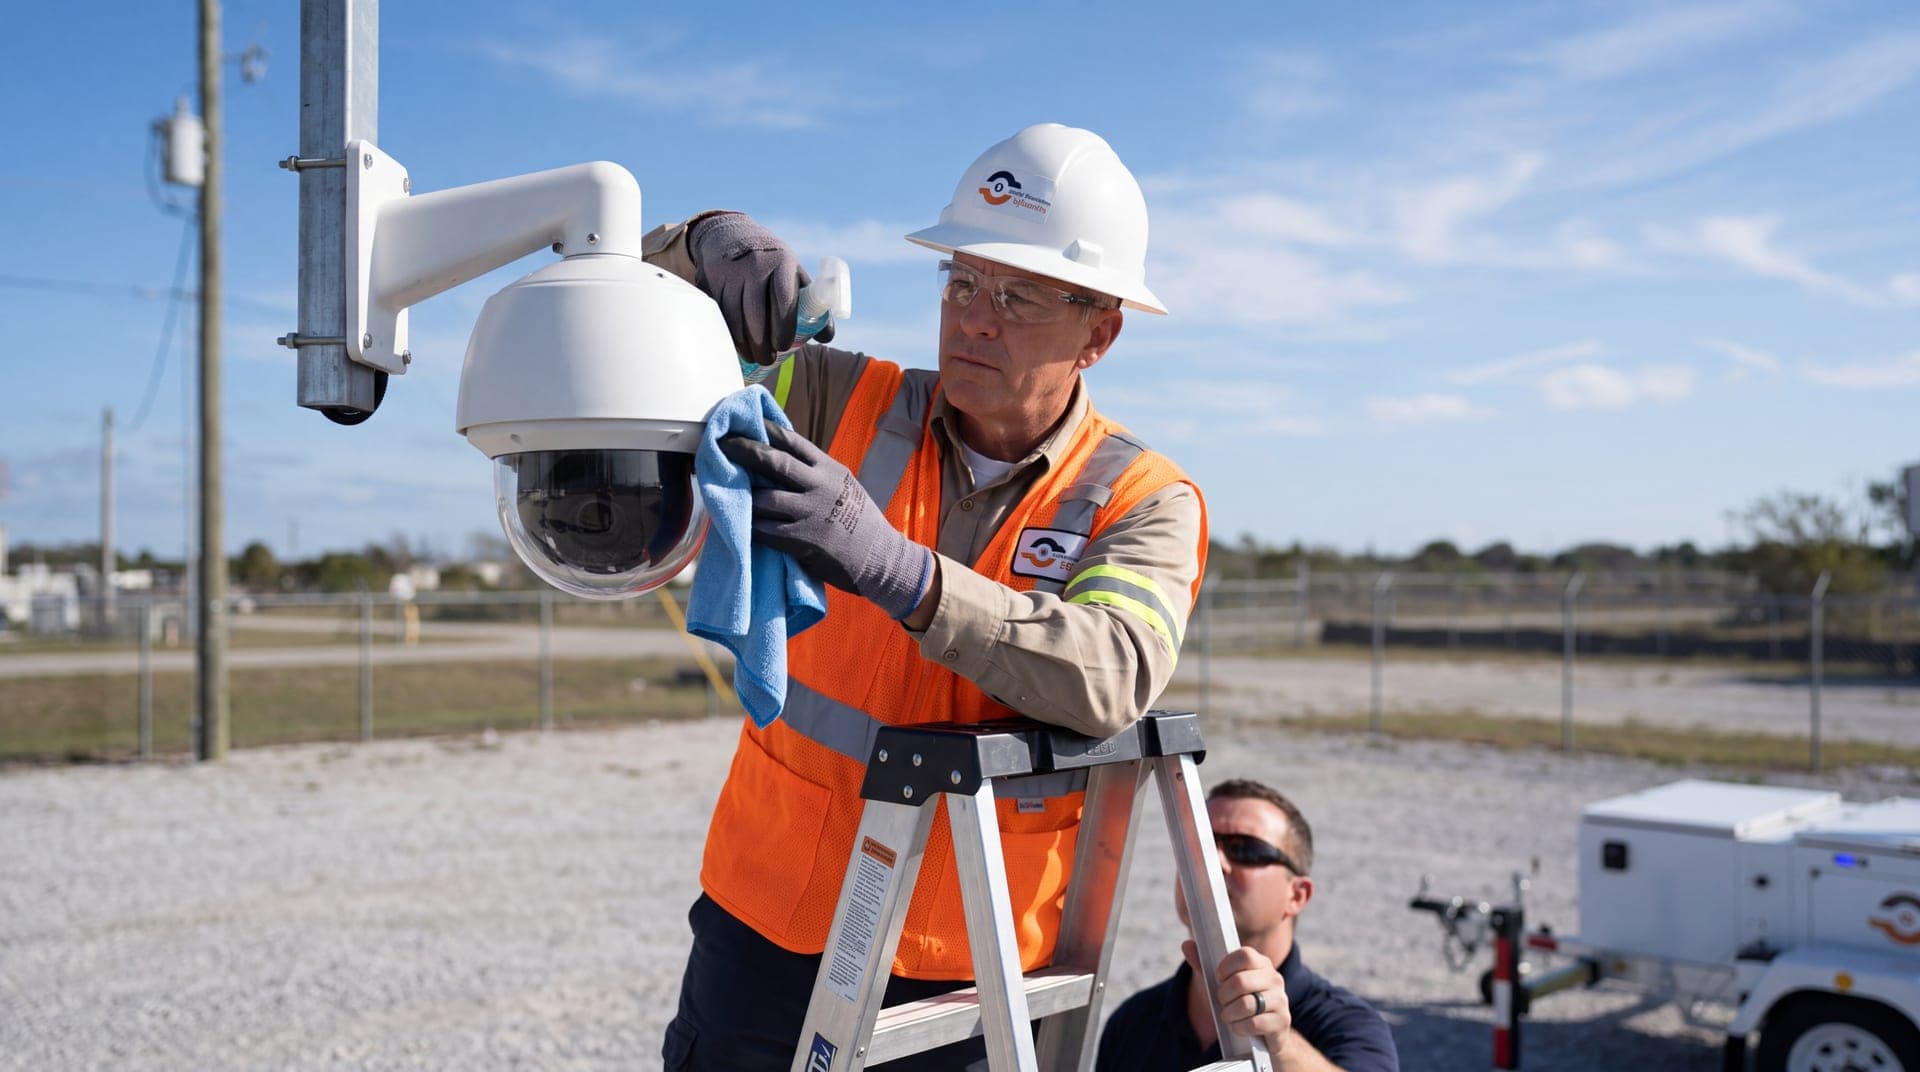
Survey the site before buying anything
Walk the property at the times it matters most, which is often at night. For each location, write one sentence on what the camera must accomplish, such as reading plates at a gate, detecting people along a fence, or covering a loading door. A camera with no stated goal usually ends up with a poor view.
Note the hazards to a clear view: trees, signs, poles, parked equipment, glare from windows and sources of reflected light. Check who has access to the mounting point, since reachable cameras get tampered with. Photograph each proposed position from the camera's point of view if you can.
For help matching view to purpose, see the field of view guide.
Confirm power
Every camera needs a dependable source of power, and a plan for when it fails. Identify the source at each location, who controls the breaker, and whether the circuit is shared with equipment that might trip it. Where a battery backup is used, confirm what it carries and for how long.
- Locate the nearest power and note the distance and path of any new run.
- Check that outdoor connections are rated for weather and protected from water.
- Confirm that power-over-Ethernet switches, where used, have enough capacity for every device.
- Plan for outages, including what the cameras do when power returns.
Where no power exists, solar is an option. It needs unshaded sun exposure and enough battery capacity for cloudy days. Our guide to cameras without Wi-Fi or power explains how those systems work.
Confirm communications
Cameras are only useful if their video reaches the people who need it. Decide the path for each camera: wired network, wireless bridge or cellular. Check the signal or cable path before mounting, not after.
For cellular, test signal strength at the mounting height, because ground-level readings can mislead. For wireless links, confirm line of sight between ends. For wired runs, check conduit routes and the length of each run.
Plan for security from the start. Change default passwords, disable services you do not use, keep firmware current, and place cameras on a separate network segment where possible. The cybersecurity guide lists the basics.
Choose mounting height and angle
Mounting height is a tradeoff. Higher positions cover more area and are harder to reach, but they reduce facial detail and make plate reading harder. Lower positions capture detail but are easier to tamper with and block. Match height to the goal you wrote down in the survey. The mounting height guide goes deeper.
Use solid mounts rated for the camera's weight and the local wind. Seal cable entries, and leave a service loop so the camera can be adjusted or replaced. Aim away from direct sun and bright lights, and avoid pointing at glass.
For plate capture, angle matters as much as height. Plate reading generally works within roughly 15-30 degrees of the direction of travel, with enough pixel height on the characters, a fast shutter for moving vehicles, and a steady frame rate at the capture zone.
Quick reference by stage
| Stage | Key checks | Record |
|---|---|---|
| Survey | Goal per camera, hazards, access | Photos and a goal for each view |
| Power | Source, circuit, weather rating, backup | Circuit and panel labels |
| Communications | Signal or cable path, network plan | Signal readings, IP plan |
| Mounting | Height, angle, glare, tamper risk | Final positions and heights |
| Testing | Day and night views, alerts, playback | Test log with screenshots |
| Handoff | Documentation, access, training | Camera list and contacts |
Test in real conditions
Test after dark, in rain if possible, and with the lights and equipment that normally run at the site. Walk through each view and have a second person act as the subject. Confirm that the camera sees what the goal requires, not just that it produces an image.
Check infrared performance. Close walls and railings can bounce infrared back and wash out the picture, and insects near the lens can create streaks. Test motion and analytics rules by walking the intended path, and confirm alerts reach the right people through the right channel. Finally, play back recorded video to confirm it was saved and can be exported.
Hand off with documentation
The installation is not finished until the owner can operate it. Provide a camera list with locations and purposes, photos of each final view, network and account details stored securely, a record of the tests, and instructions for what to do when something goes wrong. Name who to call and who owns each recurring task.
Then set up upkeep. Lenses get dirty, mounts loosen and firmware ages. Use the camera maintenance checklist to schedule regular checks, so a failure is found by you and not by an incident.
Common mistakes to avoid
A few errors show up again and again. Cameras are mounted before anyone checks the view from that spot, so a pole or sign blocks the picture. Default passwords are left in place, which exposes the system to anyone who finds it. Testing happens only in daylight, so glare and infrared reflection go unnoticed until the first night.
Other mistakes are quieter. Cable entries are left unsealed and water finds them within a season. Nobody labels cameras, so an officer or a monitoring operator cannot tell which view is which. The installer leaves without confirming that recorded video can be exported. Each of these takes minutes to prevent during installation and hours to fix afterward, so build them into your checklist as explicit items with a name next to each one.
Finally, treat the first week as part of the install. Review video daily, adjust angles and alert settings, and write down what you changed. A short tuning period usually turns a working system into a useful one.
How VDS fits
For sites without power or internet, VDS builds solar-powered mobile surveillance units that skip most of this checklist. Each carries a 5MP PTZ with 25x optical zoom and three 8MP wide-angle cameras on a 22 ft telescopic mast (30 ft available). A 900W bifacial solar array charges an 11.8 kWh LiFePO4 battery bank with reserve for 3-5 consecutive cloudy days, and dual-SIM 4G/5G cellular carries the video. No site power, internet or trenching is needed.
Most deployments go from signed quote to live monitoring in about a week, and on-site setup takes one person under 20 minutes. See how to deploy a surveillance trailer for the steps, learn more about the mobile surveillance unit, or talk to our team.