
How light shapes video quality
A camera sensor needs light to form a picture. In dim conditions the camera raises its sensitivity, slows its shutter or adds noise, and each of these costs detail. A slow shutter blurs anything that moves, which is a problem for people walking and vehicles passing. Noise fills dark areas with grain that hides faces and plates.
Resolution cannot fix a lighting problem. A high-resolution camera in poor light still produces soft, noisy video. For more on what resolution can and cannot do, see the resolution guide.
Uneven light causes its own trouble. A bright fixture in the frame makes the rest of the scene look dark, and deep shadows hide people. The goal is even light across the area you care about, not a few intense spots.
Infrared illumination
Most outdoor security cameras include infrared emitters. Infrared is invisible to the human eye, so it lights the scene for the camera without alerting anyone. The camera switches to a black-and-white mode when light drops.
Infrared works well for general coverage and for sites where you do not want to attract attention or disturb neighbors. It has limits. Infrared range is finite, reflective surfaces such as walls, signs and wet pavement can bounce it back and wash out the view, and rain, fog or insects near the lens can create glare. Color is lost, which can make clothing and vehicle identification harder.
Infrared is different from thermal imaging, which detects heat rather than reflected light. The guide on infrared vs thermal night vision explains the differences.
White light and color video
White light lets a camera record in color at night, which helps identify clothing, vehicle color and other details. It also makes the presence of security obvious, and many offenders avoid lit areas.
White light costs more to run and can annoy neighbors if aimed poorly, so consider spill and glare. Choose fixtures that direct light downward and onto the target area. Warm and cool tones render color differently, so test what your camera shows.
Motion-activated lighting
Motion lighting combines both benefits. The site stays dark and low-profile until a sensor or analytics rule detects a person or vehicle, then the light comes on. The offender knows they have been noticed, and the camera gets better light at the moment it matters.
Tune the trigger carefully. A light set off by animals, wind or passing traffic wastes energy and trains people to ignore it. Pair the light with camera analytics when possible so it responds to the objects you care about. Lights can also be combined with sirens or audio, as discussed in the strobe lights and sirens guide.
Comparing lighting types
| Type | Strengths | Limits |
|---|---|---|
| Infrared | Covert, no visible light, low power | Black-and-white video, finite range, reflection and glare |
| Constant white light | Color video, visible deterrent | Uses more power, can cause spill and glare |
| Motion white light | Deterrence at the moment of detection, saves power | Needs tuning to avoid false triggers |
| Thermal imaging | Detects heat without light | No color or fine facial detail |
| Ambient site lighting | Even light over large areas | Needs power and fixed installation |
Where to place lights
Place light so it falls on the area the camera views, from beside or above the camera, and keep bright sources out of the lens. Light that points toward the camera causes flare and silhouettes. Avoid pointing a camera at a bright fixture or a reflective surface.
Mount lights high enough to cover a wide area and to keep them out of easy reach. Overlap the beams so there are no dark gaps, and check corners, doorways and fences where people can hide. At gates and entrances, light faces and plates from the front, not from behind the subject.
Walk the site at night with the system running and look at the video, not the fixtures. A fixture can seem bright to the eye while the camera still struggles. The construction site camera placement tips show how to check coverage and light together.
Lighting at temporary and remote sites
Sites without permanent power are often the ones with the least light. Construction sites, event grounds, lots and yards may have no fixtures after the crew leaves. A mobile lighting unit can add light where none exists and can be moved as the site changes. Pair it with cameras so the light improves video as well as safety. See the lighting trailer for what that looks like.
Common lighting mistakes
The most frequent mistake is aiming a light at the camera, which causes flare and turns people into silhouettes. A close second is a single very bright fixture over a door, which makes the rest of the scene look dark by comparison and leaves the camera exposing for the wrong area.
Other problems are easy to miss in daylight. Infrared washes out when a camera sits close to a wall, railing or sign. Moving branches trigger motion lights all night and teach everyone to ignore them. Fixtures installed within easy reach get covered, broken or turned away. Light placed on a neighbor's side of the boundary creates complaints and can lead to conflicts.
Avoid these with a night test before you finish. Stand where the camera is pointed, look at the live view, and have someone walk the approach paths. Then check again after a few weeks, because trees grow, equipment moves and seasons change how long it stays dark. Record what you changed so the next person understands the setup.
How VDS fits
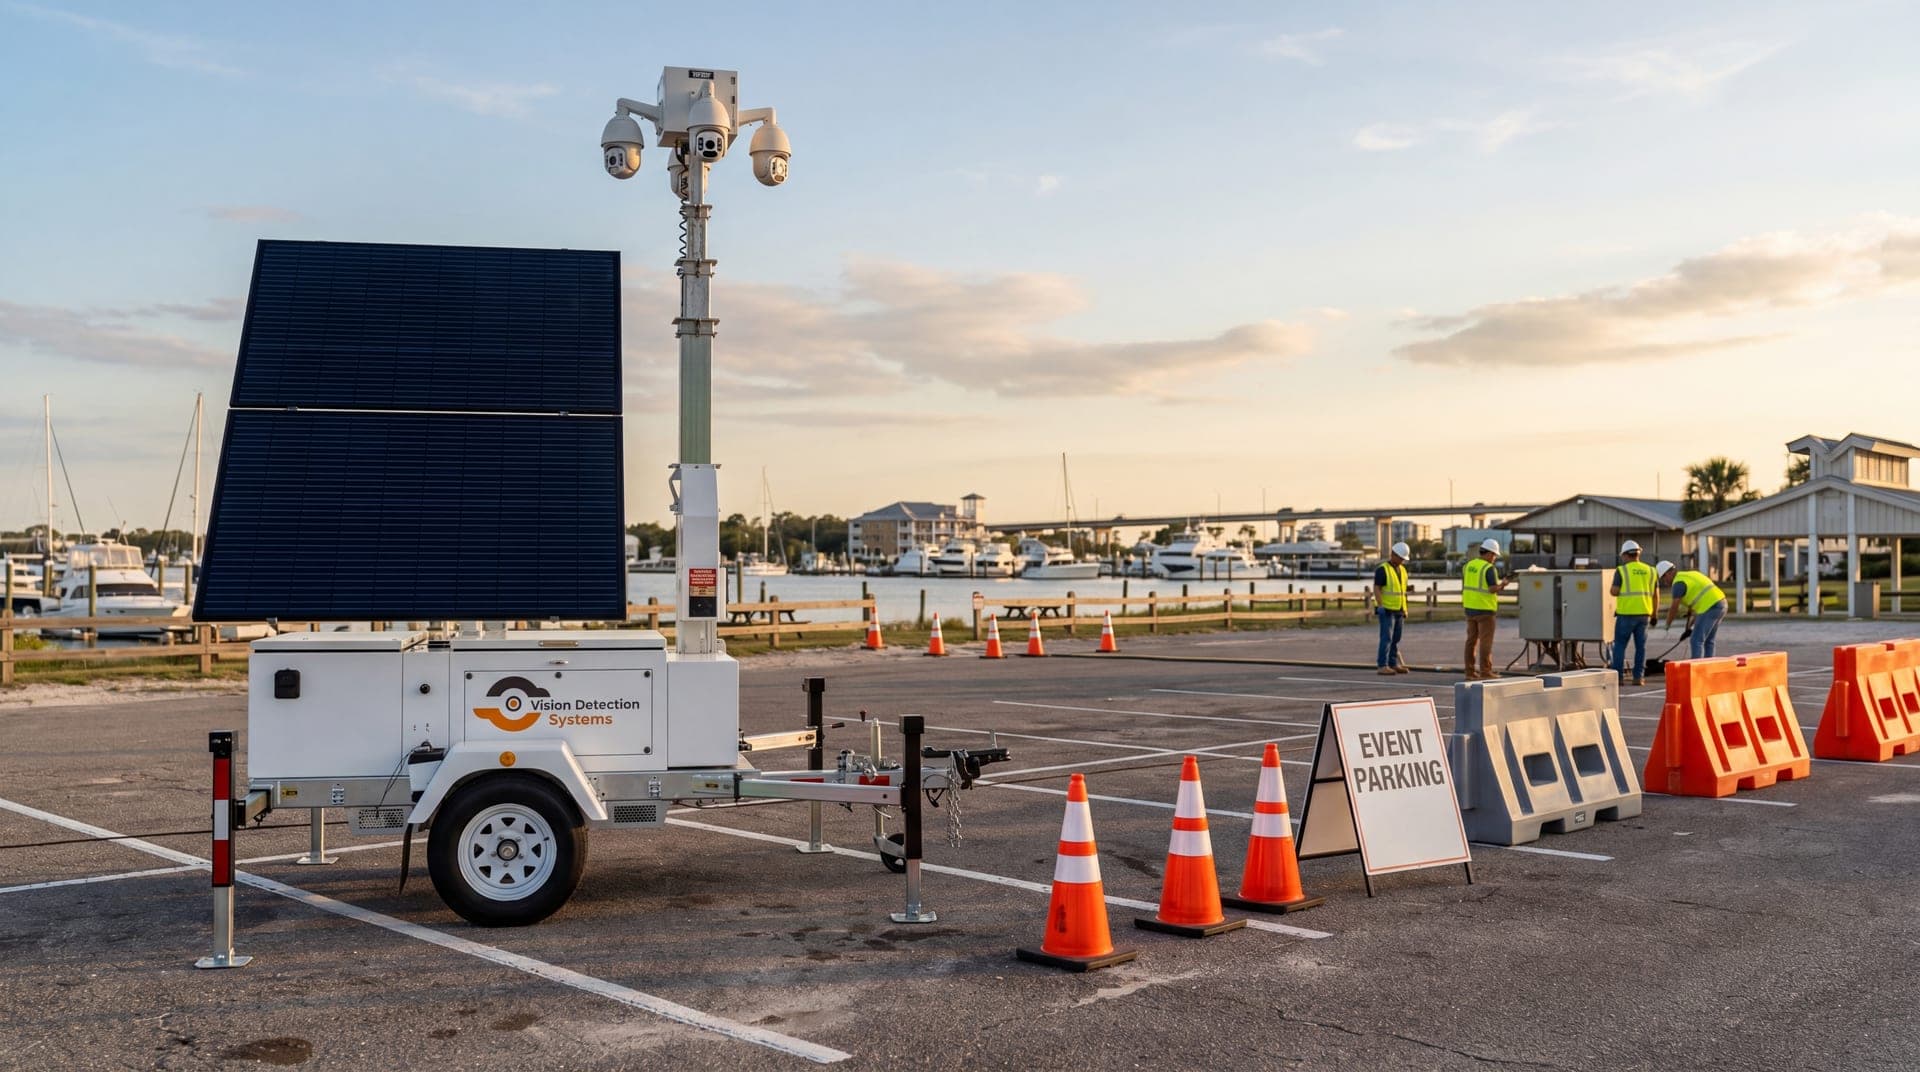
VDS builds solar-powered mobile surveillance units that need no site power, internet or trenching. Each carries a 5MP PTZ with 25x optical zoom and three 8MP wide-angle cameras on a 22 ft telescopic mast, powered by a 900W bifacial solar array and an 11.8 kWh LiFePO4 battery bank with reserve for 3-5 consecutive cloudy days.
AI detection flags people, vehicles and loitering, and a 24/7 US-based security operations center verifies events and responds with live talk-down through a loudspeaker, then police dispatch with video. A lighting trailer is available for sites that also need light. Learn about the mobile surveillance unit or talk to our team.