
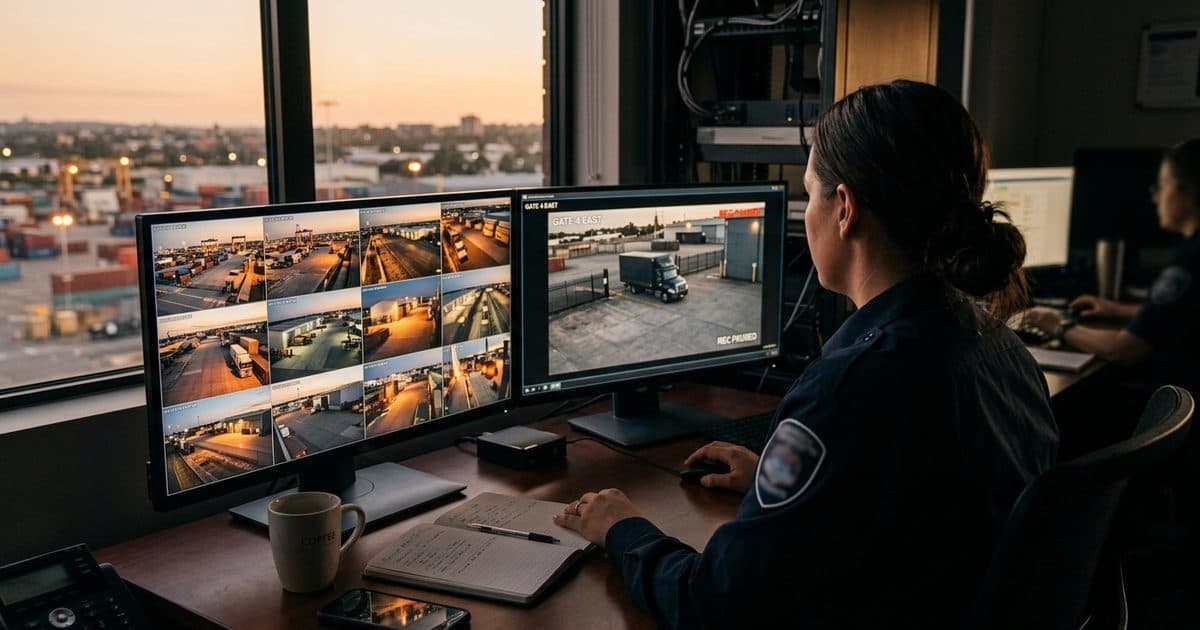
Start with what you already know
Before you open a single clip, gather the facts you have. When was the loss discovered, and when was the area last known to be fine? Which doors, gates or lots are involved? Is there a witness, an alarm record, a badge log or a delivery receipt that gives a rough time?
That window, between "last known good" and "discovered," is your outer boundary. Search inside it. Beginning with a tight window and widening it only if needed is far faster than scrubbing through a full day from midnight. The post-incident video review steps article lays out a full sequence you can follow.
Protect the footage first
Recorded video is overwritten on a schedule. If your system keeps footage for a limited number of days, the clip you need could disappear while you are still searching. As soon as you know an incident occurred, lock or copy the relevant footage. Then search the copy.
Retention is a decision to make before you need it. Our article on how long security cameras should keep footage explains how to set it based on how quickly you tend to discover losses. Some jurisdictions and industries have their own rules, so confirm specifics with counsel.
The main ways to search
Different systems offer different tools. These are the common ones, from least to most efficient.
| Method | How it works | Best for | Watch out for |
|---|---|---|---|
| Time-range scrubbing | Play through video in a window | Short, well-defined windows | Slow over long periods |
| Motion search | Draw an area and find activity there | Fixed scenes with little traffic | Noise from shadows and weather |
| Object filters | Filter by person, vehicle or other class | Narrowing busy scenes | Misclassified objects |
| Plate search | Find reads of a license plate | Vehicle-related incidents | Needs readable plates and good setup |
| Event list review | Scan alerts and verified events | Finding incident times quickly | Only covers what was flagged |
| Multi-camera pivot | Jump between cameras at the same time | Tracing movement across a site | Clock mismatches |
Metadata and filters
Metadata is the information that travels with the video: camera name, time stamp, detected object type, event type and, where available, plate reads or verification notes. Good metadata turns a search from "watch everything" into "show me every person detected at the north gate between 1 a.m. and 3 a.m."
Useful filters include:
- Time range and date.
- Camera or camera group.
- Object class, such as person or vehicle.
- Event type, such as loitering or perimeter crossing.
- Verified versus unverified events, when your system records that.
AI-based filters speed things up but are not perfect. Treat a filtered result as a lead to check, and watch the clip itself before concluding anything. For more on how detection works and where it falls short, see video analytics accuracy explained.
Check the clock
Every conclusion in a forensic review rests on time. If one camera is four minutes off from another, a person who seems to appear in two places at once may just be a clock error. Before you build a timeline, verify the time source of each camera or recorder against a reliable reference, note any offset and write it down.
When footage comes from several cameras, line them up around a shared event, such as a gate opening or a vehicle passing a known point. That makes offsets obvious.
Build a timeline, not just a clip
A single clip rarely tells the whole story. A better product is a short written timeline with matching clips: arrival, actions, departure, vehicle, direction. Include the camera name and time for each entry. This makes your review easy for a police officer, insurer or manager to follow. The incident reporting workflow article shows how to structure the report that goes with the video.
Exporting and sharing
Export carefully, because the export is what others will rely on.
- Export from the original recording, not a screen capture, whenever possible.
- Keep the native format and include a player if the format is not universal.
- Record who exported it, when, from which system and which camera.
- Keep an untouched master copy and share a duplicate.
- Check that the clip plays on another computer before sending it.
- Redact or restrict what the receiving party does not need, following your policy.
Ask the receiving party what they prefer. Police departments, insurers and courts can have their own requirements. Our guides on sharing security footage with police and on footage as evidence cover the common practices. Rules on what makes footage usable in a legal setting vary, so ask counsel when the stakes are high.
A note on privacy and access
Forensic footage often shows people who are not part of the incident. Limit who can search and export, keep an access log, and share only what the receiving party needs. Rules on retention, disclosure and notice vary by state, so confirm your policy with counsel. A written policy also protects the people doing the searching, since it shows they followed a consistent process.
Make the next search easier
You cannot fix a missing camera after the fact, but you can improve the next review:
- Name cameras clearly so reviewers know what each one shows.
- Keep clocks synchronized.
- Review a sample of footage regularly to confirm cameras are recording and in focus.
- Keep a short log of exports.
- Keep plate-capable cameras tuned for the lane they cover.
Where VDS fits
A monitored system leaves a trail that makes searching easier. VDS mobile surveillance units use AI detection for people, vehicles, loitering, objects and license plates, and our 24/7 US-based security operations center verifies events and records what was done, including live talk-down and police dispatch with video. That gives reviewers verified event times to start from instead of hours of raw footage. Our video platform and remote monitoring pages describe the workflow, and you can talk to our team about your own site.