
This guide is written for general contractors, project managers, site superintendents, and developers who need to structure site security across the full project lifecycle. Not a product comparison. Not a listicle of camera brands. A practical planning framework you can use from ground-break through closeout.
Why Construction Sites Are Uniquely Vulnerable
Construction sites present a different security problem than a retail store or a warehouse. The risk profile changes weekly. Equipment moves. Access points shift as the structure goes up. Multiple subcontractors—many of whom are unfamiliar to site management—cycle through daily. Traditional access control methods break down almost immediately.
The numbers back this up. The Associated General Contractors of America has documented construction equipment and material theft as a persistent multi-billion-dollar annual problem for the industry, with estimates frequently exceeding $1 billion per year in losses. Tools, generators, copper wire, HVAC rough-in, and finish materials are all high-value targets—and they are staged at predictable times, in predictable locations, by anyone who has watched a project long enough.
The other factor most GCs underestimate: insurance exposure. Builder's risk policies commonly include security requirements. If a theft claim is filed and the site did not meet those requirements, coverage can be denied or premiums can spike on renewal. Documented, monitored security is not just a loss prevention measure—it is a policy compliance issue.
Phase-by-Phase Security Planning
The biggest mistake in construction site security is treating it as a single deployment decision. Security needs change as the project moves through phases. Planning for each phase in advance means coverage is in place before risk peaks—not after the first incident.
Phase 1: Site Prep and Foundation
This is when most GCs have the least security in place and when opportunistic theft is highest. The site is open, activity patterns are not yet established, and there is no permanent power. Perimeter fencing with a monitored access point is the foundation. A gate camera—paired with license plate recognition at vehicle entry and exit—creates a logged record of every vehicle that accessed the site from day one. That log becomes critical if an investigation opens weeks later.
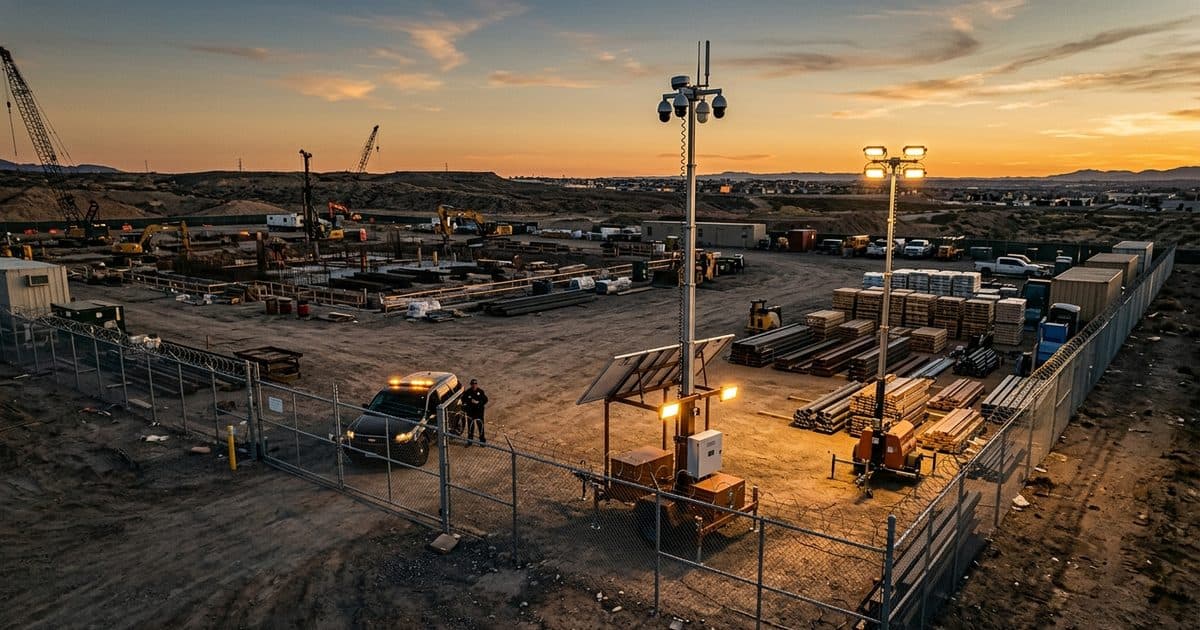
A mobile surveillance trailer positioned at the main entry or the most visible angle of the site delivers the highest deterrence value at this stage. These units are self-contained—solar-powered with battery backup—so they operate without infrastructure that does not yet exist. Post signage at the perimeter: This site is under 24/7 video surveillance. Visible deterrence before anything is even framed reduces the window when your site looks like an easy target.
Phase 2: Vertical Construction and Framing
As the structure goes up, mounting points become available and the site layout becomes more predictable. This is when fixed or elevated cameras can be added to cover overall site view—useful for both security monitoring and construction progress documentation. Temporary power panels coming online during this phase also create the option to transition select cameras from solar to hardwired, extending runtime and reducing maintenance.
The mobile trailer should be repositioned as the site evolves. What covered the critical angle in Phase 1 may be the wrong position once framing is up and staging areas have shifted. Plan for at least one trailer repositioning during this phase.
Phase 3: MEP Rough-In
This is the highest theft-risk phase on most projects. Copper wire, HVAC equipment, plumbing fixtures, and electrical components are being staged—high-value, portable, and in demand on the secondary market. Interior cameras at material staging areas are essential during this phase. Perimeter integrity also needs a fresh check: fencing gaps tend to open up as the site evolves and temporary openings get created for material deliveries and subcontractor access.
After-hours monitoring protocol becomes most critical here. Most site theft—particularly the organized variety—occurs between 5 p.m. Friday and 6 a.m. Monday. Any material that will be staged going into a weekend should be documented, and alert zones should be configured around those specific areas.
Phase 4: Finishes and Close-Out
Appliances, fixtures, and finish materials are staged in the final weeks before turnover. Access control tightens—the list of who has a code or key should shrink significantly as the punch list closes out. This phase also overlaps with permanent building security system installation, which creates an opportunity to transition monitoring to the building's permanent infrastructure. Coordinate the handoff carefully so there is no gap in coverage between the construction security plan and the permanent system going live.
Essential Components of a Construction Site Security System
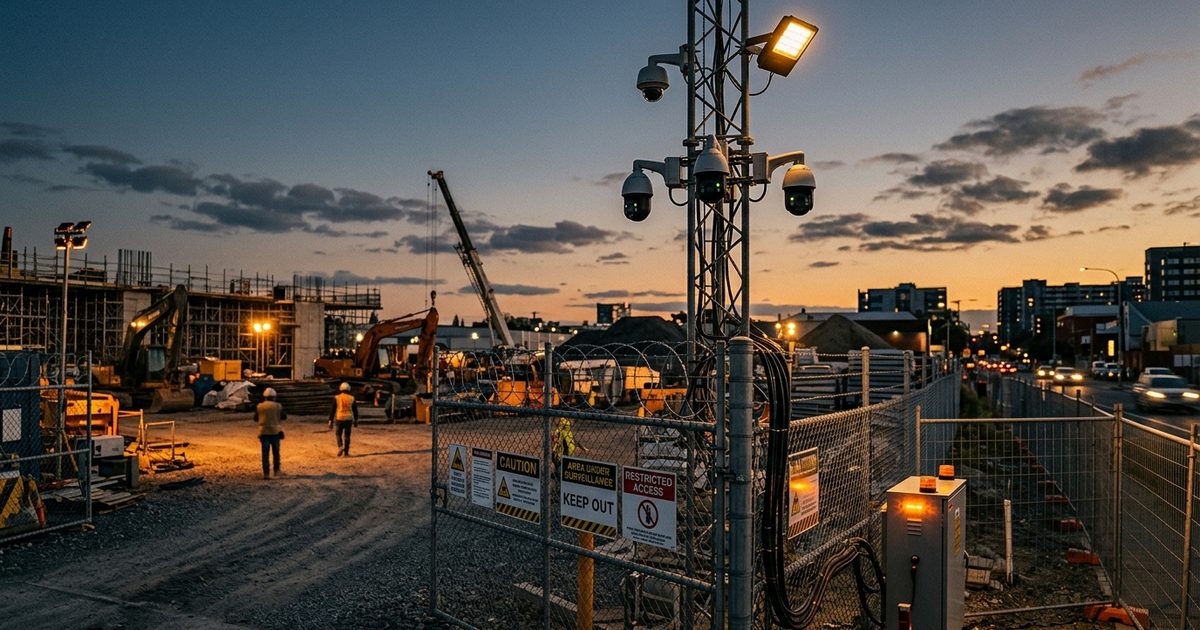
- Mobile surveillance trailers: Self-powered, rapidly repositionable as site conditions change. The central piece of infrastructure for Phases 1 and 2, and a flexible supplement in later phases.
- Fixed perimeter cameras: Mounted on fencing or temporary structures for continuous coverage of access points and staging areas. Supplement trailers as mounting options become available.
- LPR at vehicle entry: Logs every vehicle entering and exiting the site with timestamp. Critical for post-incident investigation—insurance adjusters and law enforcement both ask for vehicle records immediately.
- Remote video monitoring: Human operators reviewing alerts and following defined escalation protocols. Recordings alone do not stop an incident in progress.
- IR and active lighting: Infrared night vision on cameras is the baseline. Active LED deterrence lighting on mobile units adds a visible signal that the site is monitored—and lights up scenes well enough to produce usable footage.
- Gate access logging: Camera plus intercom or keypad creates a timestamped record of personnel access at every entry point.
Monitoring Protocol for Construction Sites
Equipment and a monitoring contract are not the same thing as a monitoring protocol. The protocol defines what happens when an alert triggers—and it needs to be defined before the system goes live, not after the first incident.
Start with alert triggers. After-hours motion in equipment staging areas and material storage zones should generate alerts. General site perimeter motion may not—that threshold is a tuning decision based on site conditions. Configure zones and schedules so alerts are specific enough to act on.
When an alert triggers, remote video monitoring operators verify activity on live video before escalating. Most after-hours incidents on construction sites end with a verbal PA warning—the subject leaves without police dispatch required. That is faster, cheaper, and better documented than waiting for a patrol response. When escalation to law enforcement is necessary, the operator provides a live situational update and keeps footage rolling.
Every incident—whether it resolves with a verbal warning or requires dispatch—should generate a video clip, a timestamp, and a written incident report. That documentation is what your insurance carrier will ask for first.
What Good Evidence Looks Like
Most construction theft is discovered 24 to 72 hours after it occurs. The footage exists—the question is whether it is usable. Usable means: sufficient resolution to identify a vehicle plate or an individual's distinguishing features, IR performance that produces a legible image in zero ambient light, and retention long enough that the footage has not been overwritten before anyone knows to pull it.
Plan retention minimums of 30 days for active construction phases. Build an export workflow your team can execute within 24 hours of discovering an incident—your GC should be able to get a clip to the insurance adjuster the same day the loss is reported. For anything going to law enforcement, document chain of custody from export to handoff.
For construction-specific deployments with these requirements built in, see how VDS structures construction site security across project phases.
Common Mistakes General Contractors Make
- Installing cameras in Phase 2. The decision to get cameras up; once framing starts; leaves Phase 1 unprotected. That is when the site is most open and least familiar to surrounding observers.
- Relying on recordings only. A recording tells you what happened. A monitored system can stop what is happening. These are different outcomes.
- Mounting cameras on temporary structures that move. A camera mounted on a scaffold bay that gets stripped in week six is a camera that stops covering its zone without anyone noticing. Plan mount points around structures that will remain stable for the duration of coverage.
- Choosing cameras without IR in a dark environment. Construction sites have no ambient lighting after hours. A camera without infrared night vision produces footage that is useless for identification—which means it is useless for insurance claims and investigations.
- No defined escalation protocol. An alert fires. Now what? If the answer is; whoever sees it figures it out, the system will underperform. Define who gets notified, in what order, and what action they are authorized to take—before the system goes live.
Vision Detection Systems specializes in construction site security—mobile surveillance trailers, phase-adaptive coverage plans, and 24/7 remote monitoring with defined escalation protocols. If you are planning a new project or patching gaps in an existing site's security plan, contact us for a site assessment. We will walk the site, identify the coverage gaps, and put together a plan that matches the project phases—not a one-size-fits-all camera package.